Cameras Make You POOR – Here’s Why (And How to Avoid it)

Photography and videography are amazing hobbies, but they come with a price—literally. Camera gear can easily cost thousands, if not tens of thousands of dollars. But why is that? And more importantly, is there a way to get into cameras without going broke?

In this article, we’ll break down:
Why cameras are so expensive
The smartest ways to save money on camera gear
How to get professional gear without draining your wallet

Let’s dive in.


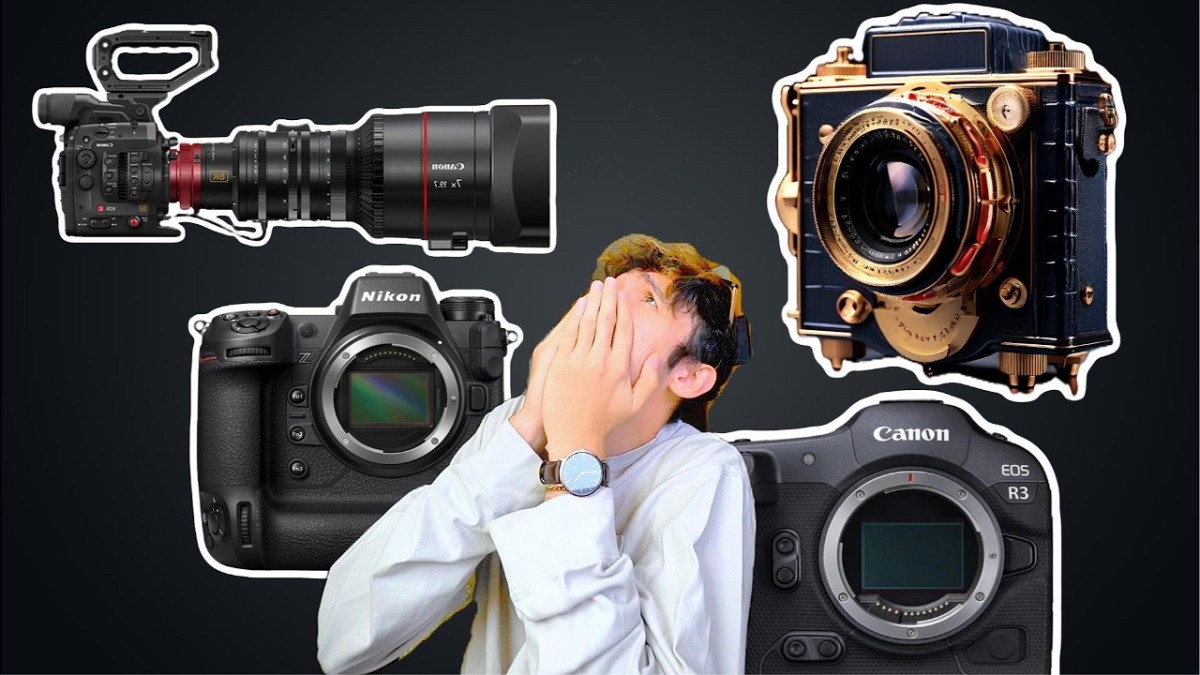
📸 Why Is Camera Gear So Expensive?

1️⃣ The Audience Is Small and Specialized

Unlike smartphones, which billions of people buy, high-end cameras cater to a tiny market. The fewer buyers there are, the more companies have to charge to make a profit.

Think of it this way:
🔹 iPhones – Almost everyone needs a phone → Lower prices due to mass production
🔹 Cheap cameras – People who want better quality than their phone → Mid-range pricing
🔹 Pro cameras – Semi-pros and serious hobbyists → Higher pricing, but still accessible
🔹 Hollywood-level cameras – Only a handful of people need these → $40K+ price tags

📊 Fewer buyers = Higher prices per unit.


2️⃣ Camera Gear Lasts Too Long (Which Sounds Like a Good Thing, But Isn’t)

Unlike phones, which need upgrades every 2-3 years, a high-quality camera or lens can last a decade or more. This means camera brands can’t rely on frequent upgrades to drive profits, so they charge more upfront.

Think about it:
✅ A Sony A7 III (2018) is still an amazing camera today
✅ A Canon 5D Mark III (2012) is still used by professionals
Lenses last FOREVER – A great 50mm lens from 1990 is still just as good today

💡 Since people don’t upgrade cameras as often as they do phones, companies charge more per sale to make up for lower demand.


3️⃣ New Models Are Released SLOWLY

Unlike the iPhone, which gets a new model every year, cameras and lenses don’t update nearly as fast.

🔹 iPhones → New every 12 months 📅
🔹 Sony Cameras → Every 3-4 years
🔹 Lenses → Sometimes they last 10+ years without a major update 🏆

💰 Fewer releases = Higher prices because brands need to make the most money out of each model.

And guess what? Lenses hold their value even better than cameras. You can buy a lens today, use it for 5 years, and resell it for nearly the same price.


💸 How to Get Into Cameras Without Going Broke

Now that we know why camera gear is expensive, let’s talk about how to get pro-level gear for a fraction of the price.


1️⃣ Buy Used, Not New

Cameras lose value fast. You can save 30-50% by buying last year’s model used instead of new.

Best places to buy used:
eBay – Good deals, but check seller ratings
Adorama / B&H Used – Reputable camera shops
Facebook Marketplace – Local deals can save you a ton
Local camera stores – Many have trade-in programs

📌 Example Savings:
💰 Sony A7 IV New – $2,500
💰 Sony A7 IV Used – $1,800 (Save $700!)

Used cameras work just as well and often come with barely any wear.


2️⃣ Rent Before You Buy

If you only need a high-end lens or camera for a weekend project, rent it instead.

🎥 Places to rent gear cheaply:
LensRentals.com – Huge selection
Local camera shops – Often cheaper than online
Borrow from friends – Best price = FREE

💡 Why spend $3,000 on a lens when you can rent it for $30?


3️⃣ Upgrade Lenses Slowly & Trade Up

Lenses hold their value, which means you can trade up slowly over time.

Here’s a smart way to upgrade:
📷 Start with a $200 used lens
📷 Sell it for $150
📷 Buy a $500 lens with the $150 from the first sale
📷 Sell that later for $400 and buy a $1,000 lens

Over time, you’ll end up with a pro lens without ever dropping $3,000 in one go.


4️⃣ Skip the Camera, Use Your Phone

Smartphone cameras are insanely good now.

🔹 If you’re just starting, an iPhone 15/16 or Samsung S24 Ultra has better image quality than most $500 cameras.
🔹 You can use apps like Filmic Pro to get DSLR-like manual controls.
🔹 The biggest difference is lenses, but for casual use, your phone might be enough.

💡 Before dropping thousands on a camera, ask yourself: Do I REALLY need it?


5️⃣ Don’t Buy Everything at Once

New photographers often think they need:
❌ A $3,000 camera
❌ Five different lenses
❌ A drone
❌ Studio lighting

🚨 Big mistake.

👊 Start small:
✔ Get a used DSLR or mirrorless camera
✔ Pick ONE good lens (like a 50mm f/1.8 for portraits or a 16-35mm for wide shots)
✔ Learn how to use it inside and out
✔ Upgrade only when you actually NEED to

💰 Most beginners waste thousands on gear they don’t even use. Don’t be that person.


💡 Final Thoughts

Cameras are expensive, but they don’t have to make you broke.

Buy used instead of new
Rent lenses for short-term needs
Upgrade slowly by reselling old gear
Use your phone if you don’t really need a camera
Start with one lens and build from there

💡 It’s not about having the best gear—it’s about knowing how to use what you have.


📢 What do you think? Have you ever regretted spending too much on camera gear? Let me know in the comments!

Could This Be the Best Travel Mic of 2024? A Review of the DJI Mic

When it comes to choosing a microphone for travel, portability, durability, and audio quality are key. The DJI Mic has caught my attention as a top contender for the best travel microphone of 2024. After using it on various adventures—from impromptu trips to New Orleans to dealing with travel mishaps and hotel chaos—here’s an in-depth look at whether this mic lives up to the hype.

What I Don’t Like About the DJI Mic

Before diving into the positives, let’s address a couple of drawbacks:

  1. Power Management: One downside is that you need to turn on both the receiver and the microphone separately. If you forget to power them both up, you won’t get any audio. It’s an extra step that can be a bit annoying, especially when you’re in a rush or in a complex shooting setup.
  2. Clipping the Mic: Although the mic is designed with a magnetic clip for easy attachment, it still requires you to ensure it’s properly positioned and pointed up. While the magnet makes it simple to attach, it’s an additional step compared to some other travel mics.

What I Like About the DJI Mic

Despite a few inconveniences, the DJI Mic shines in several areas:

  1. Perfectly Travel-Sized: The DJI Mic is remarkably compact and travel-friendly. Unlike bulkier options like the Rode VideoMic Pro Plus, this mic’s compact design means it fits snugly into its case, reducing the risk of damage. It’s also less than half the volume of larger mics, making it a more practical choice for tight packing.
  2. Convenience and Flexibility: Although the mic doesn’t turn on automatically with your camera, it offers impressive flexibility. You can move around and talk to the camera from different angles without the audio becoming overly bass-heavy, a common issue with shotgun mics. This makes it excellent for dynamic filming scenarios where you want to capture clear audio while engaging with the environment.
  3. Audio Quality: The standout feature of the DJI Mic is its audio quality. Having used various wireless lapel mics, I can confidently say that the DJI Mic is the best I’ve encountered. It delivers crisp, clear sound without the distortion or poor performance often associated with other wireless options. Even in challenging conditions, such as windy environments, it maintains high-quality audio.

Final Thoughts

After extensive use, including handling the typical travel headaches like hotel booking fiascos and extreme weather, the DJI Mic has proven itself as a reliable and high-quality option. Its compact size, impressive audio quality, and flexibility make it a strong candidate for the best travel microphone of 2024.

If you’re searching for a microphone that balances portability with excellent sound performance, the DJI Mic is worth considering. You can check out the DJI Mic here on Amazon. Note that this is an affiliate link, so I may earn a small commission at no extra cost to you if you make a purchase through it.

Have you tried the DJI Mic or have other recommendations for travel microphones? Share your thoughts and experiences in the comments below!

Thanks for reading, and happy filming!

Master Your Sony Camera: A Deep Dive into My Custom Settings

For those who love capturing stunning visuals with a Sony Alpha Camera, customizing your settings can make all the difference. Whether you’re filming a fast-paced vlog, capturing the stars, or recording slow-motion footage, having the right settings ready to go can streamline your workflow and enhance your creativity. Here’s a comprehensive guide to the settings I use on my Sony A7C, including custom modes, button configurations, and menu options that help me get the best out of my camera.

1. Custom Modes: Tailor-Made for Every Scenario

Movie Mode

For most of my video work, I stick with 4K at 24 frames per second. This resolution and frame rate provide a cinematic look and are perfect for most filming situations. I often use aperture priority mode here, especially since I currently don’t use an ND filter. This setup ensures I capture high-quality footage with minimal fuss.

Timelapse Mode

When I need to create quick time-lapse sequences, I switch to the SNQ (Slow & Quick) mode, set to one frame per second. This mode is great for capturing smooth, flowing movements, whether it’s bustling city streets or serene landscapes. I keep it at 24p to maintain a consistent, slightly sped-up feel without going overboard.

Slow Motion Mode

For those times when I want to slow things down, I use Custom Mode 1, set to 1080p at 120 frames per second. This setting is perfect for capturing high-speed actions with clear, crisp details. It’s an excellent choice for sports or any action shots where detail is crucial.

Astrophotography Mode

Custom Mode 2 is dedicated to astrophotography. For nighttime shoots of the Milky Way or star trails, I use a 15-second exposure with a 10-second self-timer to minimize camera shake. I set the white balance to incandescent to keep the colors consistent and use manual focus to ensure sharp, clear stars.

Nightlapse Mode

Mode 3 is for capturing night lapses. I use a 15-second exposure with 30-second intervals between shots. This setting allows me to document the movement of stars over a long period, turning hours of shooting into a short, captivating video. It’s set to manual focus and uses interval shooting to automate the process.

2. Custom Button Configurations

Custom buttons are a game-changer for efficiency. Here’s how I have mine set up:

  • Down Button: Activates APS-C crop mode.
  • Left Button: Enables Clear Image Zoom, which provides additional cropping options.
  • Right Button: Adjusts ISO settings quickly.
  • Trash Can Button: Toggles between autofocus and manual focus.
  • Center Button: Controls monitor brightness, switching between bright settings for outdoor use and dim settings for indoor shooting.

3. Custom Menu Settings

For quick access to essential features, I’ve customized my menu:

  • Peaking: I set peaking to high and red for manual focus assistance, highlighting what’s in focus.
  • Zebra: Helps me monitor exposure levels and avoid overexposure.
  • Manual Focus Assist: Zooms in to fine-tune focus, especially useful for astrophotography.

Additionally, the custom menu allows me to switch between 4K and 1080p easily and adjust audio recording levels when needed.

4. How to Set Up Custom Settings

Adding to the Custom Menu:
Go to the “Favorites” section in the menu, select “Add Item,” and choose the features you frequently use. This keeps them easily accessible without digging through multiple menus.

Configuring Custom Buttons:
Navigate to the camera settings, select “Custom Key,” and assign functions to the buttons based on your shooting style.

Setting Custom Modes:
Adjust all your settings to fit your needs, then save them under a custom mode by navigating to the memory section in the camera menu. If the memory option is grayed out, try switching modes and then back again to enable it.

5. Final Thoughts

The Sony A7C (affiliate) is a fantastic camera, and with the right settings, it becomes even more powerful. My custom modes and button configurations are tailored to my needs, from creating engaging YouTube content to capturing breathtaking night skies. I hope this guide helps you set up your camera to match your shooting style. Feel free to share your settings or any tips you have in the comments!

Happy shooting!